

These are unprecedented times friends, but I hope you’re making some sweet memories with your families in some of your extra time together. With Easter this weekend, this is a perfect time to get an updated family photo, but with the COVID quarantine, not really feasible for a photographer to come and take photos for you. So, I wanted to share a couple of tips for taking a family portrait, self-timer style.
Okay, let’s do this! Before you get started, clean your lens! Fingerprints & dust on the lens make a huge difference. Don’t stress over matchy-matchy outfits. Just pull some favorites from your closet, make sure everyone coordinates (ie looks nice all together), and you’re good to go!
1. TIME OF DAY + BEST LIGHT
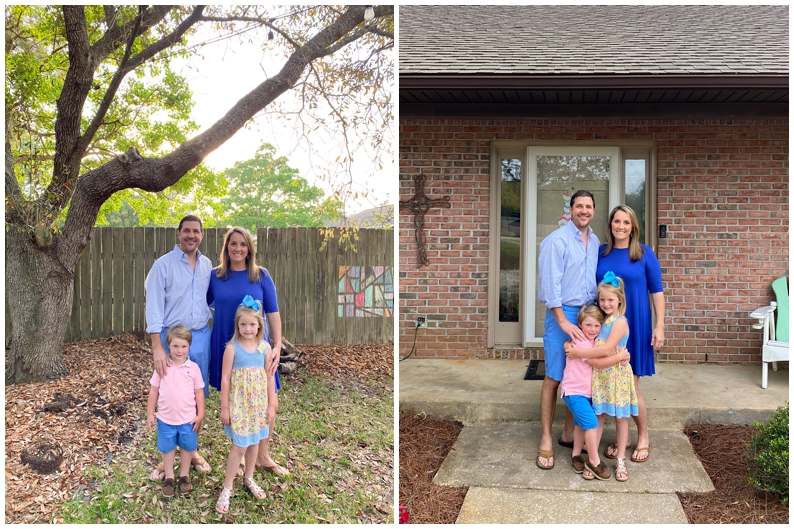
The best light of the day to take your photo is about 45 minutes to an hour before sunset. Midday can create harsh shadows and less flattering skin tones, unless you have a large area of open shade to shoot in. Soft, “golden hour” light is best for portraits. (This weekend, Easter weekend 2020, the best time for these will be around 6:15-6:30ish CST!)
If you have to shoot midday, look for an area of open shade. Open shade = you are standing in the shade, but can look up and see the sky. That way, there is plenty of light on your face, but not harsh light directly on you creating contrasty shadows.
Check out the difference here between shooting in the harsh sunlight of midday and moving into open shade. This spot is actually 2 steps from the original spot… they just rotated and moved into the shade.

2. PICK YOUR LOCATION
You may love the idea of your family gathered on your front porch or maybe in your backyard. Think about the light, like we talked about above when making that decision.
Wherever you choose to shoot, make sure everyone is evenly lit. You don’t want one person’s face and body to be in full sun and another person to be in shadow. This may require a little moving around.
Take a minute to check out the background and clear it of anything you don’t want in the shot like cups, car keys, toys, etc.
3. SETTING UP THE SHOT
If possible, have your family step out away from the background a little. Creating some separation between you and the backdrop creates a more aesthetically pleasing photograph, especially if you are shooting with a Smartphone, which tends to flatten everything out.
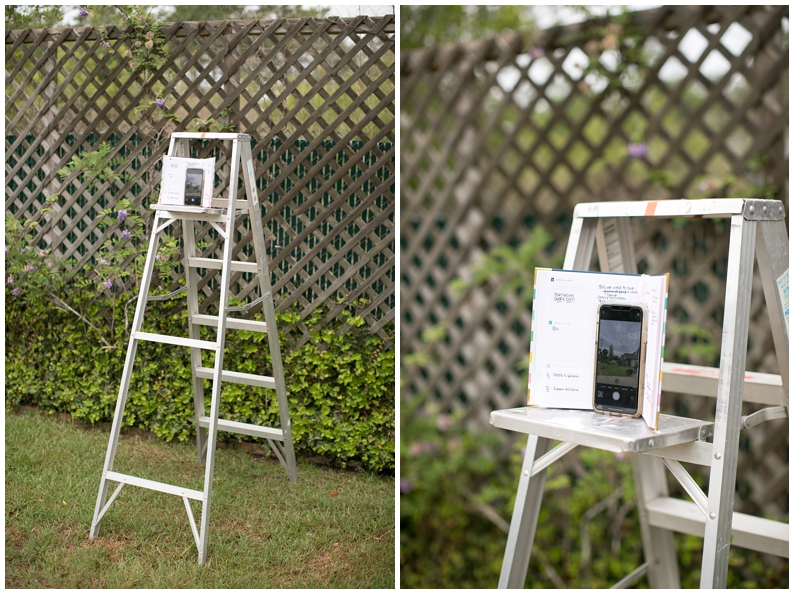
Set your phone or camera at eye level. Shooting from too low will create distorted lines and is not the most flattering chin-angle, if you know what I mean 😉 If you don’t have a tripod, try setting your phone or camera up against a hardcover book on the rung of a folding ladder, which can easily be moved around your yard. Gotta get creative, friends!
When arranging your family, think about where you (the photographer) will go. Make that decision before you push the button and need to scramble into place, especially if you are using the self-timer function and running back and forth between each photo!
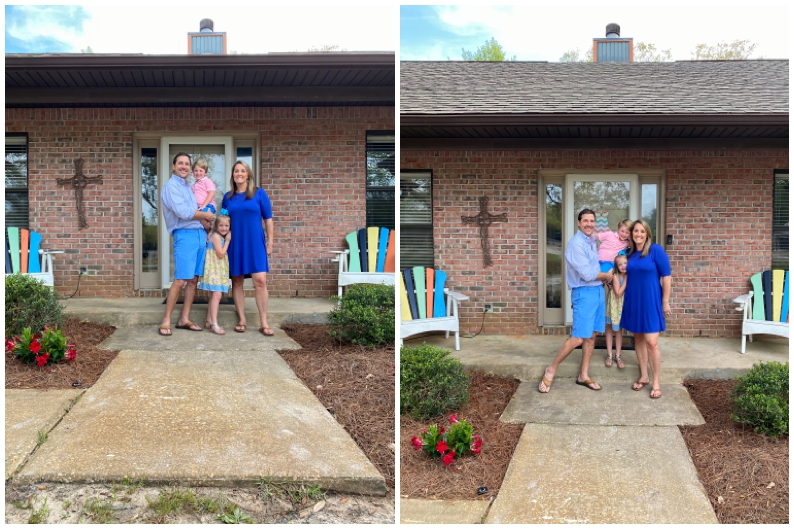
Here’s the difference between a photo shot from the ground or a short surface, and moving the camera to eye level.
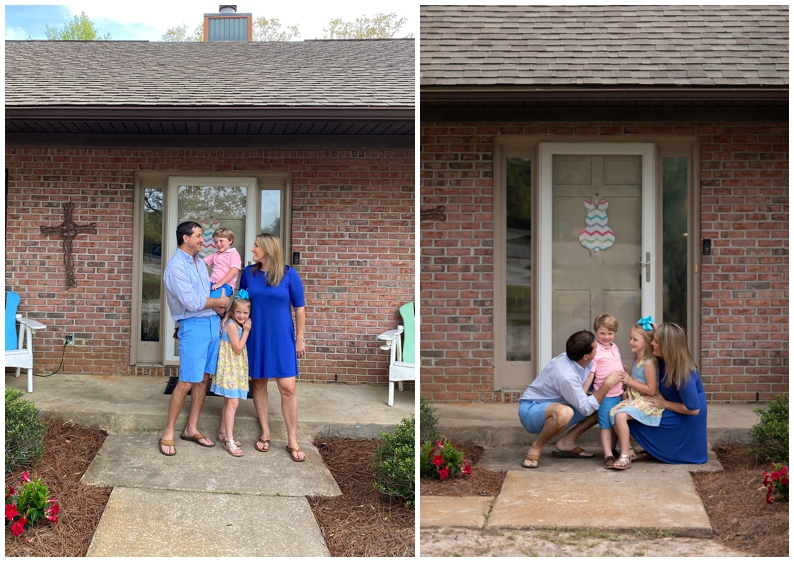
4. NOW, SOME VARIETY
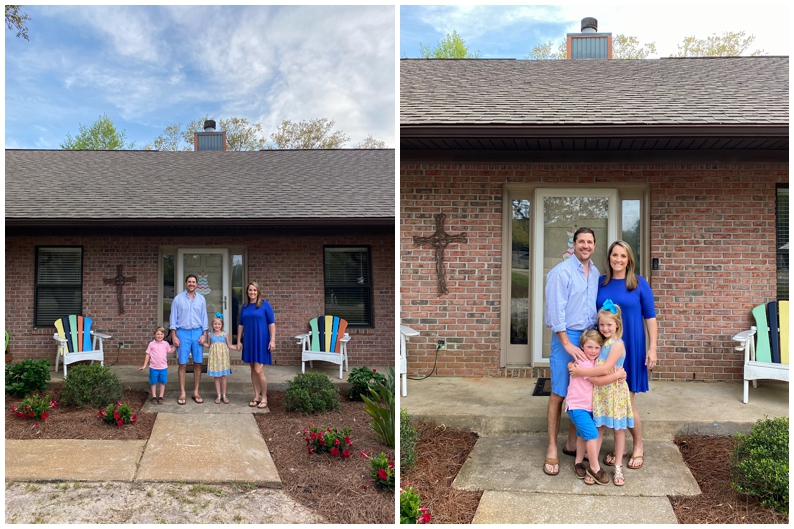
Mix it up a little! Here are 3 quick setups you can try to get some variety in your shots.
Everyone standing, holding hands.
Everyone standing, kids in front, or parents holding kids.
Everyone sitting, kids on laps, or kids next to parents.

Once you have a few great shots, take a few where you’re not just looking at the camera and smiling. Some of my favorite shots are when everyone is just looking at each other and laughing or enjoying the moment being together.
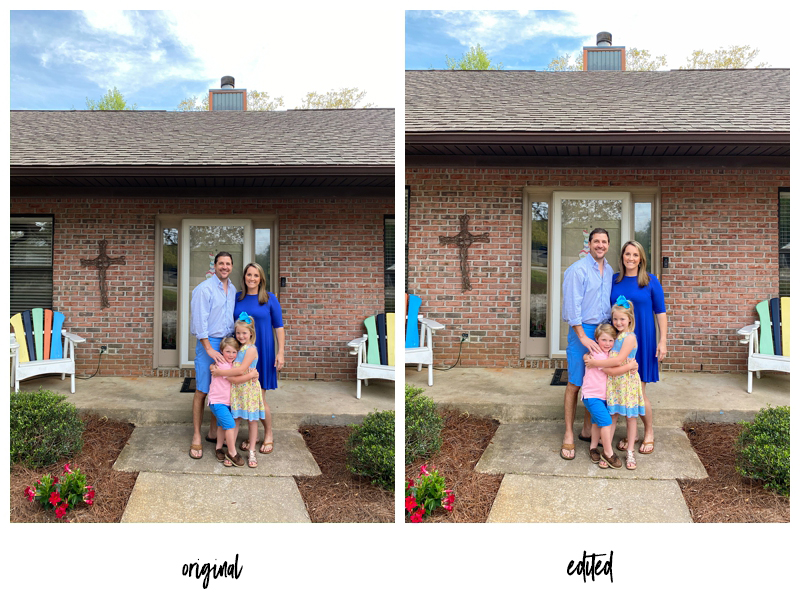
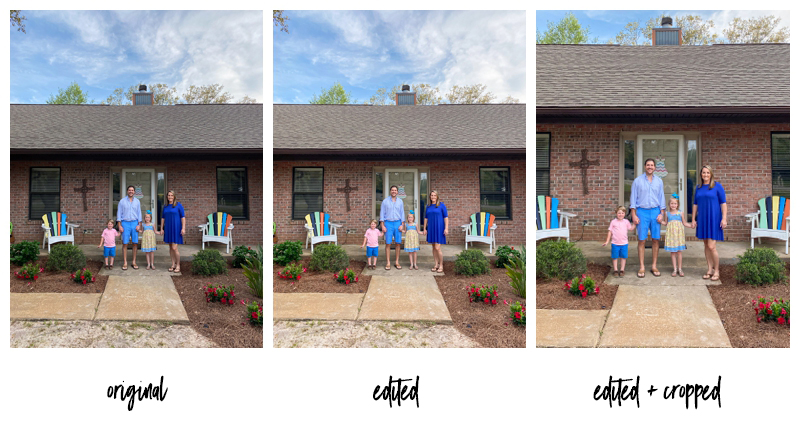
5. EDIT YOUR PHOTOS
HEY, why don’t you let me edit that for you? Once you’ve got your favorite photo or 2, send it my way and I’ll edit it for you and send it back! My gift to you!
I did a video HERE sharing how I edit photos on my phone using the FREE mobile app Lightroom!
Additionally, for the duration of the COVID19 Quarantine, my Sunkissed + Pure mobile editing presets for Lightroom are 25% off using code: CHOOSEJOY
BONUS tips:
++If you think you might try a shoot like this again in the future, you may want to pick up a tripod for your camera or your phone to make it a little easier the next time around.
I love this lightweight tripod for my dSLR camera: Camera Tripod
I love this tripod with ring light for my phone: Smartphone Tripod
++If you enjoyed this post, you might also like THIS POST where I share some general smartphone photography tips and you may also want to download my free SMARTPHONE PHOTOGRAPHY GUIDE !
I hope this was helpful for you and you create some wonderful memories this weekend friends!! Happy Easter and happy photographing!!


LEAVE A COMMENT
0 Comments